Serving Eugene, Greater Portland, Vancouver, Everett, Bellingham, and Nearby Areas

Serving Eugene, Greater Portland, Vancouver, Everett, Bellingham, and Nearby Areas
Click on a photo to enlarge.
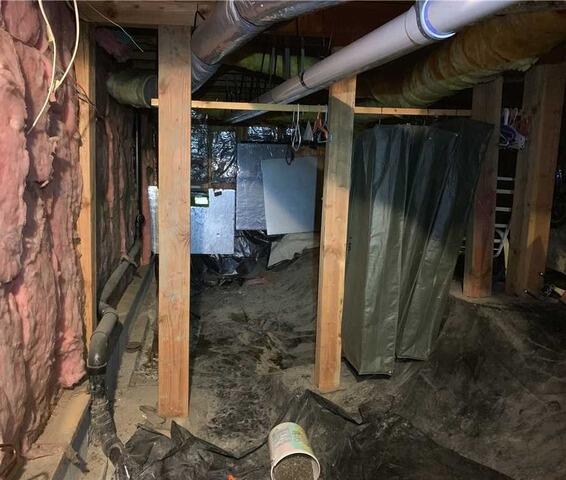
The wooden posts in your crawl space are what support your home and keep your floors even. If water gets into your crawl space and get absorbed by the wooden posts, this eventually causes them to rot and grow mold. Once they have been water damaged, the damage could be irreparable and homeowners will have to spend expensive amounts to fix the structural integrity of the home. This homeowner experienced water in their crawl space and it began to deteriorate their wood by causing distortion and discoloration. They called John's Waterproofing about getting their crawl space encapsulated and protecting against future water damage. To begin the encapsulation, first we installed a drainage system using a perforated pipe and a TripleSafe sump pump. These work together to collect any water that tries to enter and offer a passageway to be pushed out of the crawl space and away from the homes foundation. We then install TerraBlock, a thick insulation foam, along the base of the space. Afterwards, a CleanSpace vapor barrier is installed on top of the TerraBlock, up the foundation walls, and between the concrete footing and wooden posts. We put the vapor barrier between the footing and posts to isolate and protect them against water from being able to seep up into the wood. Once the space is protected and sealed from the earth, then we apply Spray Foam along the foundation walls to insulate and air seal. A SaniDry dehumidifier is installed to help pull moisture out of the air. Once this encapsulation is fully completed, the crawl space is isolated and protected against moisture damage and the homeowners won't have to worry about the wooden posts supporting their home.
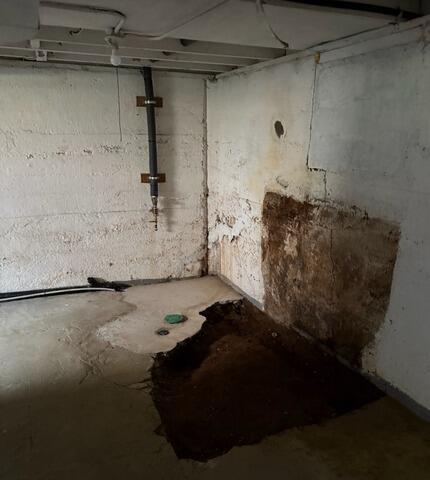
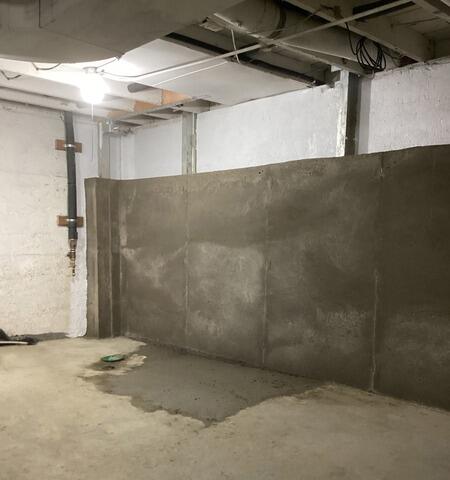
This basement had a vertical crack that was separating the foundation wall in the basement. As the bow got worse, the floor began to crack and pieces were loose. The owners began to remove the broken pieces of the floor, but it kept breaking apart as pieces were removed until a large section of the floor was gone. To address the stability issue and the floor, John's Waterproofing was called upon. We installed a form along the foundation wall, installing steel and concrete into the form to fortify the new foundation section we would pour. Once dry, the form was removed and what was left behind was a stable and healthy wall to support the home.
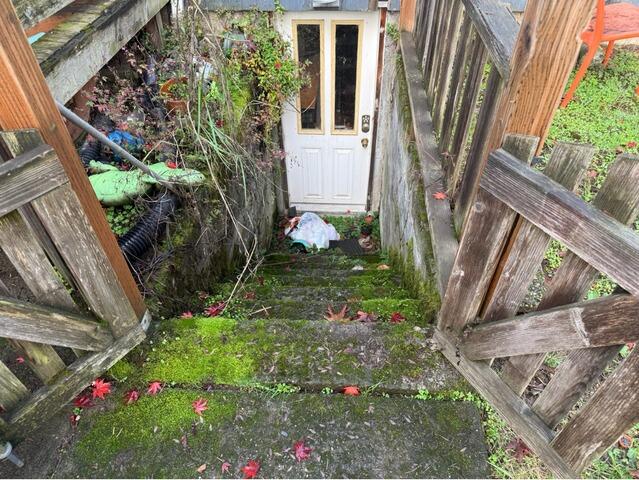
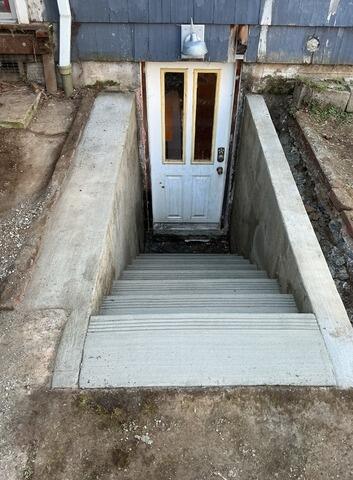
The concrete stairwell leading into the basement of this home was rotting and damaged beyond repair. Our Design Specialist came out to inspect the stairwell, and offered the homeowner the best solution - complete removal and replacement of the existing stairwell with new, strong concrete. This proposed solution was exactly what the homeowner had in mind, and he was excited to get on our schedule! When our crew of concrete experts arrived, they first cut out and removed the entire existing stairwell. Next, they dug out and compacted the area, to ensure that the new stairwell would be poured flush with the surrounding concrete patio. With the area prepped, they built the forms for the stairs and the 2 retaining walls on each side of the stairs. After pouring the concrete into the forms, they finished each stair step with 4 tread lines, and gave the rest of the stairwell a nice broom finish. The entrance into the basement of this home has now been made safer and more aesthetically pleasing by the concrete experts here at John's!
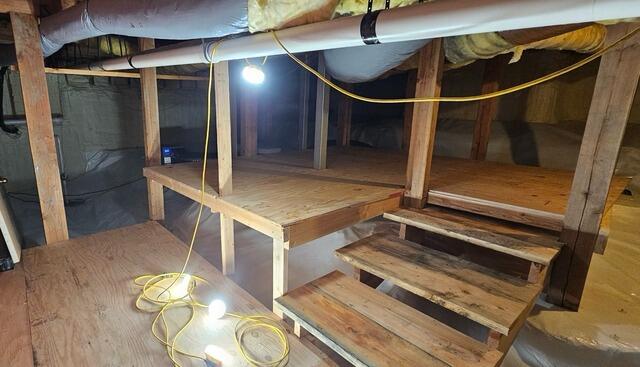
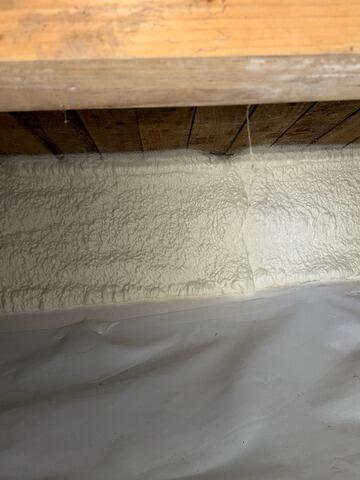
This homeowner wanted her crawl space encapsulated, with a wooden storage platform built on top of it. We were more than happy to oblige, and got her on our schedule! When our crew arrived, they began by removing all debris from inside of the crawl space, and began the encapsulation. First, they applied Mold X to the areas inside the space where mold had grown. Mold X removes mold and stains, leaving clean and healthy surfaces. Next, our crew laid down TerraBlock Insulation to cover the entire floor of the space. On top of the TerraBlock, they placed our 20 Mil CleanSpace Vapor Barrier, which is interlaced with carbon fibers to prevent rodents from chewing on it. It is warrantied for 25 years against rips and tears, and its bright and white appearance dramatically transforms the appearance of crawl spaces. To prevent water damage, our Electrical Division installed a dedicated outlet for a SuperSump Pump which the crew installed. The Pump will immediately pump all water intrusion away from the home through a discharge line. To ensure the humidity inside of the space would be permanently maintained at a safe level - preventing mold growth, and creating a healthy air environment - our Electricians also installed a dedicated outlet for a Dehumidifier. To make sure that no air or debris would be able to enter, our crew sealed all of the original vents with rigid plastic vent covers. The final step of the encapsulation was installing Spray Foam Insulation onto the foundation walls. It is sprayed on with precision, to fill every crevice and void until a 100% air-tight seal is achieved within the crawl space. The full encapsulation was now complete, so our crew began building the wooden Storage Platform that the homeowner requested. Our crew members are highly skilled in carpentry, and were able to construct this beautiful and functional storage area for the homeowners. Now that this crawlspace is addressed, this family can now use their crawl space, and new wooden platform for storage, without having to worry about their items being damaged by water, mold, or rodents.
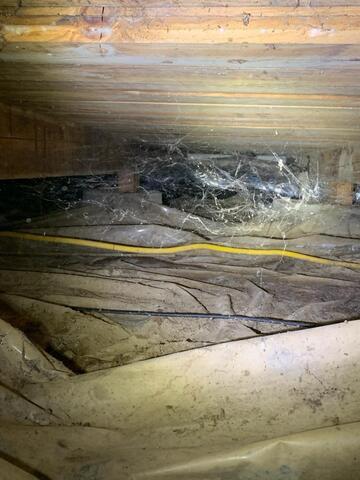
This crawl space was causing a lot of issues for this home, such as musty smells, a rise in energy bills and problems with pests and rodents. They wanted to find a solution that is permanent, so they reached out to John's Waterproofing to set up a free estimate and inspection. After our system design specialist went out and inspected the space, he met with the homeowner and went over some options for this crawl space. They decided an encapsulation was the best route to go. Encapsulation equals protection. It is the process of sealing the home from the earth. To begin this project, we start by removing all the debris in the space. Next, we dig a trench around the interior perimeter of the crawl space to lay down a perforated pipe into a silt sock. This will create a secure passage for water to drain safely to the SuperSump Plus pump at the lowest point in the space. We then install a discharge line outside and away from the homes foundation. Our TerraBlock system is next. We install this directly on the dirt floor of the crawl space, creating an insulated barrier between the home and the earth, assuring no moisture makes its way up through the crawl space flooring. On top of the TerraBlock, we install our CleanSpace system. This is placed all along the foundation walls, up to the rim joists, and sealed at the footing of the wooden posts with our waterproof tape. We make sure to cover all the vents in the space to avoid outside air from entering. To control the environment we install our SaniDry Sedona. This effective dehumidifier will dry and filter the air, removing damp, musty smells. It will also keep the space at a healthy relative humidity, promoting clean air throughout the entire home. Lastly, to finish this space, we spray our foam insulation all along the foundation walls, up to the rim joists ensuring a complete air tight seal in this space. This homeowner can have peace of mind knowing their space is now protected for years to come. With encapsulation, the homes energy bills lower and will not have issues with rodents or musty odors.
our service area